In the realm of dairy-free desserts and plant-based baking, one ingredient has risen to star status: coconut condensed milk. This creamy, sweet, and incredibly versatile alternative to traditional condensed milk is revolutionizing kitchens worldwide. Whether you're navigating dietary restrictions, embracing a vegan lifestyle, or simply looking to explore new flavors, understanding how to make homemade coconut condensed milk opens up a world of culinary possibilities. Forget store-bought versions laden with unknown additives; crafting your own is a simple, two-ingredient process that promises pure, unadulterated sweetness.
Why Choose Homemade Coconut Condensed Milk? The Dairy-Free Difference
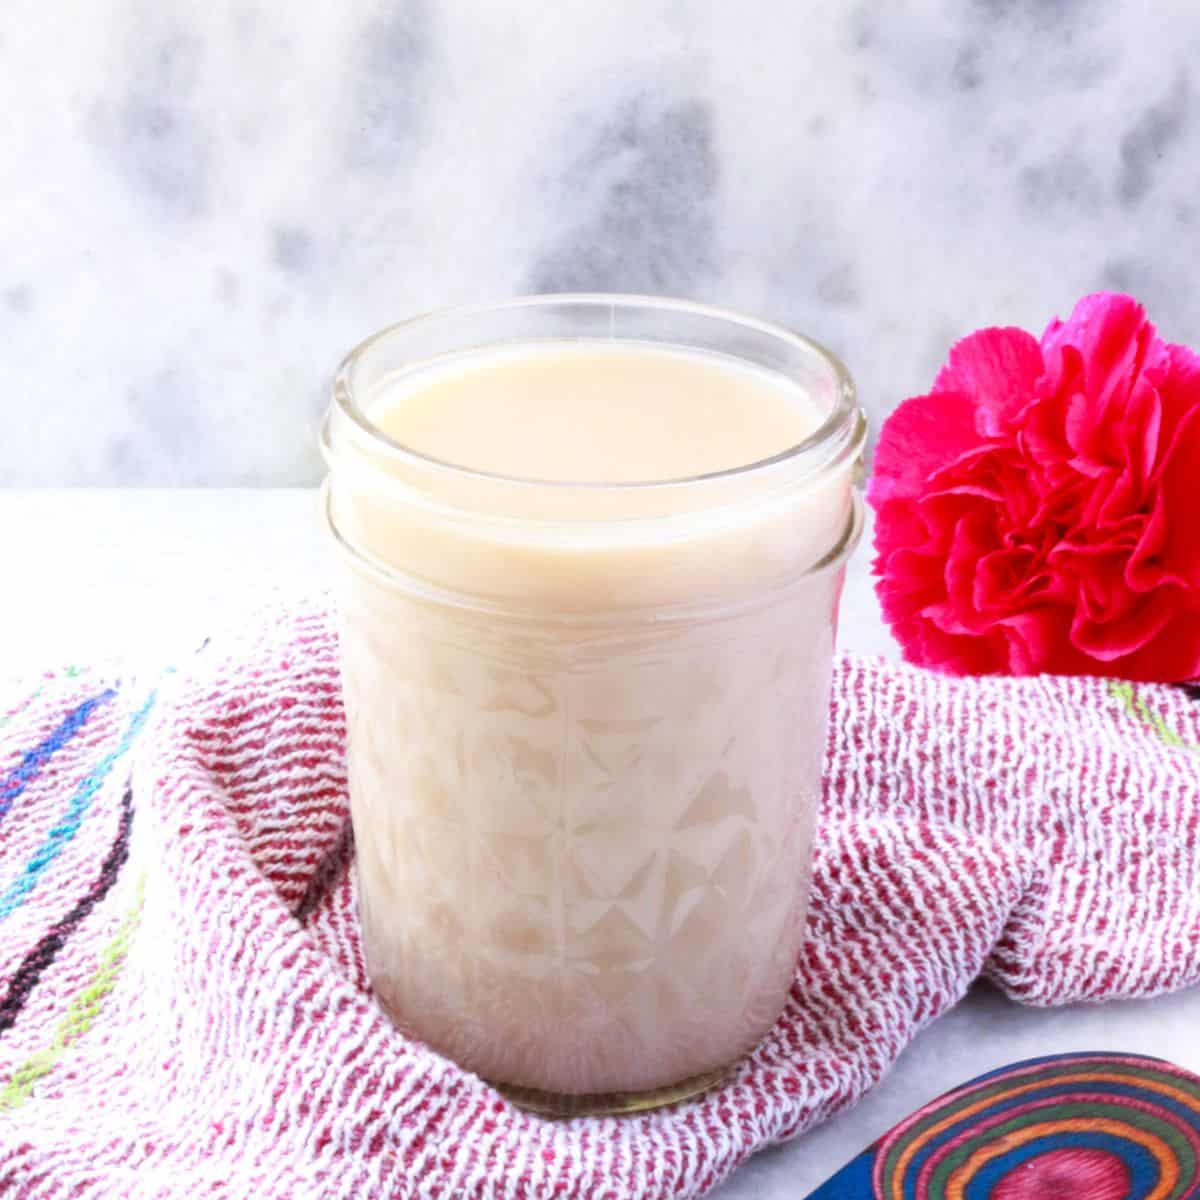
The appeal of coconut condensed milk extends far beyond just being a vegan option. It offers a unique flavor profile and several compelling advantages over its dairy counterpart. Made by slowly simmering coconut milk with a sweetener, it transforms into a rich, thick syrup that delivers both creaminess and a subtle tropical hint to any dish.
Key Benefits of DIY Coconut Condensed Milk:
- Dairy-Free and Vegan: Perfect for those with lactose intolerance, dairy allergies, or following a plant-based diet.
- Simple, Clean Ingredients: Most homemade recipes, including ours, use just two core ingredients, allowing you to control exactly what goes into your food.
- No Unwanted Additives: Commercial versions can contain thickeners, emulsifiers, and preservatives. Making it yourself ensures a pure product.
- Cost-Effective: Often, making your own can be more economical than purchasing specialty dairy-free condensed milk.
- Customizable Sweetness: Adjust the amount and type of sweetener to suit your taste and dietary needs.
- Rich Flavor Profile: It imparts a lovely coconut essence that complements a wide array of sweet and savory dishes, unlike the neutral taste of traditional condensed milk.
The growing demand for plant-based alternatives has put this ingredient in the spotlight. From rich desserts to creamy beverages, it's proving its worth as a staple for any modern pantry.
Mastering the Art of Homemade Coconut Condensed Milk: The Simple Process
You might be surprised by just how effortless it is to create this luscious ingredient in your own kitchen. The magic lies in the reduction process, where water evaporates, concentrating the flavors and thickening the consistency. For a detailed guide, you can always refer to Master 2-Ingredient Vegan Coconut Condensed Milk, but here's an overview of the journey from simple ingredients to sweet perfection.
Essential Ingredients: Quality Matters
- Full-Fat Coconut Milk: This is the cornerstone of your condensed milk. Opt for canned, full-fat coconut milk with a high percentage of coconut extract and no added gums, stabilizers, or emulsifiers. The cleaner the label, the better the result. While you *could* make homemade coconut milk from fresh coconut flesh, for convenience and consistent results in this recipe, high-quality canned is usually preferred.
- Sweetener of Choice:
- Organic Cane Sugar: This is a popular choice due to its neutral flavor and ability to caramelize beautifully, contributing to the rich color and texture. Organic cane sugar is preferred as it's less processed than conventional white sugar and avoids the pesticides used in most sugarcane growth. It retains some molasses and minerals, offering a slightly more complex sweetness.
- Maple Syrup: For a more unrefined sweetener option, maple syrup works wonderfully. It will lend a distinct maple flavor to your condensed milk, which can be a delicious addition to certain recipes. You might need to adjust quantities slightly, as maple syrup is typically less sweet by volume than granulated sugar.
- Other Alternatives: While less common for condensed milk due to their varying sweetness and crystallization properties, some experimental cooks might try agave nectar or date syrup, though these will significantly alter the final taste and texture.
Step-by-Step Creation:
- Combine Ingredients: Pour your chosen full-fat coconut milk and sweetener into a medium saucepan. Stir well to dissolve the sugar as much as possible before heating.
- Bring to a Boil: Place the saucepan over medium heat, stirring occasionally. Bring the mixture to a gentle boil. This initial heat helps to fully dissolve the sugar and kickstart the reduction.
- Simmer and Reduce: Once boiling, immediately reduce the heat to low-medium. The goal is a steady simmer, not a rapid boil. Continue to simmer, stirring frequently to prevent sticking and ensure even reduction. This is where the magic happens!
- Monitor and Transform: Over approximately 30-45 minutes (the exact time depends on your heat and pan size), the mixture will gradually reduce in volume by about half. You'll notice it thickening and taking on a slightly darker, more golden hue as the sugar gently caramelizes and the water evaporates. The consistency should become syrupy, coating the back of a spoon.
- Cool and Thicken: Once the desired consistency is achieved, remove the pan from the heat. The condensed milk will continue to thicken significantly as it cools. Allow it to cool completely at room temperature before transferring it to an airtight jar for storage.
Tips for Success:
- Patience is Key: Don't rush the simmering process. Low and slow ensures even reduction and prevents scorching.
- Stir, Stir, Stir: Frequent stirring, especially towards the end, is crucial to prevent the bottom from burning and ensure uniform thickness.
- Visual Cues: Trust your eyes. When it's reduced by about half and coats a spoon thickly, it's ready. Remember, it will thicken considerably more when cool.
- Storage: Store your homemade coconut condensed milk in an airtight container in the refrigerator for up to two weeks.
Beyond the Basics: Creative Uses for Your Dairy-Free Sweetness
Now that you've mastered how to make homemade coconut condensed milk, it's time to unleash its full potential in your kitchen! Its creamy texture and delicate sweetness make it a star in both sweet and savory applications, especially where a rich, dairy-free base is desired. For even more inspiration, check out Easy Homemade Vegan Coconut Condensed Milk Recipe.
Delicious Applications:
- Decadent Desserts:
- Pies and Tarts: Transform classic desserts like pumpkin pie, key lime pie, or no-bake cheesecakes into vegan delights. The coconut flavor adds an exotic twist.
- Fudge and Caramels: Create rich, chewy vegan fudge or dairy-free caramels perfect for edible gifts or a luxurious treat.
- Cookies and Bars: Incorporate it into magic cookie bars, no-bake bars, or as a binder in energy balls (like the coconut bliss balls mentioned in the source material).
- Puddings and Mousses: Add depth and creaminess to chia puddings, rice puddings, or chocolate mousses.
- Irresistible Beverages:
- Coffee & Tea: Stir a spoonful into your hot or iced coffee for a wonderfully creamy, sweet, and dairy-free creamer. It's fantastic in Thai iced tea!
- Smoothies & Shakes: Boost the richness and sweetness of your favorite fruit or vegetable smoothies.
- Cocktails: Experiment with it in tropical-themed cocktails for a creamy, sweet element.
- Frozen Treats:
- Homemade Ice Cream: It's a fantastic base for no-churn vegan ice cream, providing unparalleled creaminess without needing an ice cream maker.
- Popsicles & Granitas: Create refreshing, creamy popsicles or icy granitas with a tropical twist.
- Breakfast & Brunch:
- Drizzles & Toppings: Drizzle over pancakes, waffles, oatmeal, or fresh fruit for an elevated breakfast experience.
- Overnight Oats: Stir it into your overnight oats mixture for a naturally sweet and creamy base.
The beauty of homemade coconut condensed milk lies in its adaptability. Don't be afraid to experiment and introduce this dairy-free sweetness to your favorite recipes!
Troubleshooting and Expert Tips for Perfect Results
While making coconut condensed milk is straightforward, a few common queries and tips can help ensure your results are consistently perfect.
Common Issues & Solutions:
- Too Thin? If your mixture doesn't thicken enough after cooling, simply return it to the saucepan and simmer for a bit longer, continuing to stir. Remember, patience is key.
- Too Thick or Solidified? If it becomes too thick or solidifies too much in the fridge, gently warm it up over low heat, adding a tablespoon of water or extra coconut milk at a time until it reaches your desired consistency.
- Grainy Texture? This usually happens if the sugar hasn't fully dissolved or if the mixture was simmered too aggressively. Ensure you stir thoroughly at the beginning and maintain a gentle simmer.
- Separation? Sometimes, the coconut fat might separate slightly upon cooling, especially with certain brands of coconut milk. This is normal. Just give it a good stir or warm it gently to recombine.
Pro Tips for the Best Condensed Milk:
- Choose the Right Pan: A wide, heavy-bottomed saucepan provides more surface area for evaporation, which speeds up the reduction process and helps prevent scorching.
- Clean Coconut Milk: As reiterated, select coconut milk without any added gums or stabilizers for the purest flavor and best texture.
- Flavor Variations: After cooling, consider stirring in a splash of vanilla extract, a pinch of cinnamon, or a hint of cardamom for an extra layer of flavor, tailoring it to your specific recipe needs.
- Double Batches: It's worth making a larger batch if you use it frequently, as the process takes a bit of time, and it stores well in the fridge.
Embracing the DIY approach to coconut condensed milk is not just about avoiding dairy; it's about taking control of your ingredients, customizing flavors, and unlocking a world of creative culinary adventures. With just two simple ingredients and a little time, you can have this versatile, dairy-free sweetness ready to enhance everything from your morning coffee to your most indulgent desserts.
