Easy Homemade Vegan Coconut Condensed Milk Recipe: Your Dairy-Free Sweetness Solution
In the vibrant world of plant-based cooking, finding delicious and dairy-free alternatives to traditional staples is a game-changer. One such ingredient that often sparks curiosity and demand is condensed milk. If you've ever dreamt of creamy, sweet, and versatile condensed milk without any dairy, then you're in the right place! We've heard your requests and are thrilled to share the ultimate guide on *how to make homemade coconut condensed milk*. This recipe is not just a simple swap; it's a culinary revelation that opens up a world of vegan desserts, beverages, and treats. Prepare to master a kitchen staple that is unbelievably easy to prepare, requiring just two core ingredients and minimal hands-on effort.
What is Vegan Coconut Condensed Milk and Why Make Your Own?
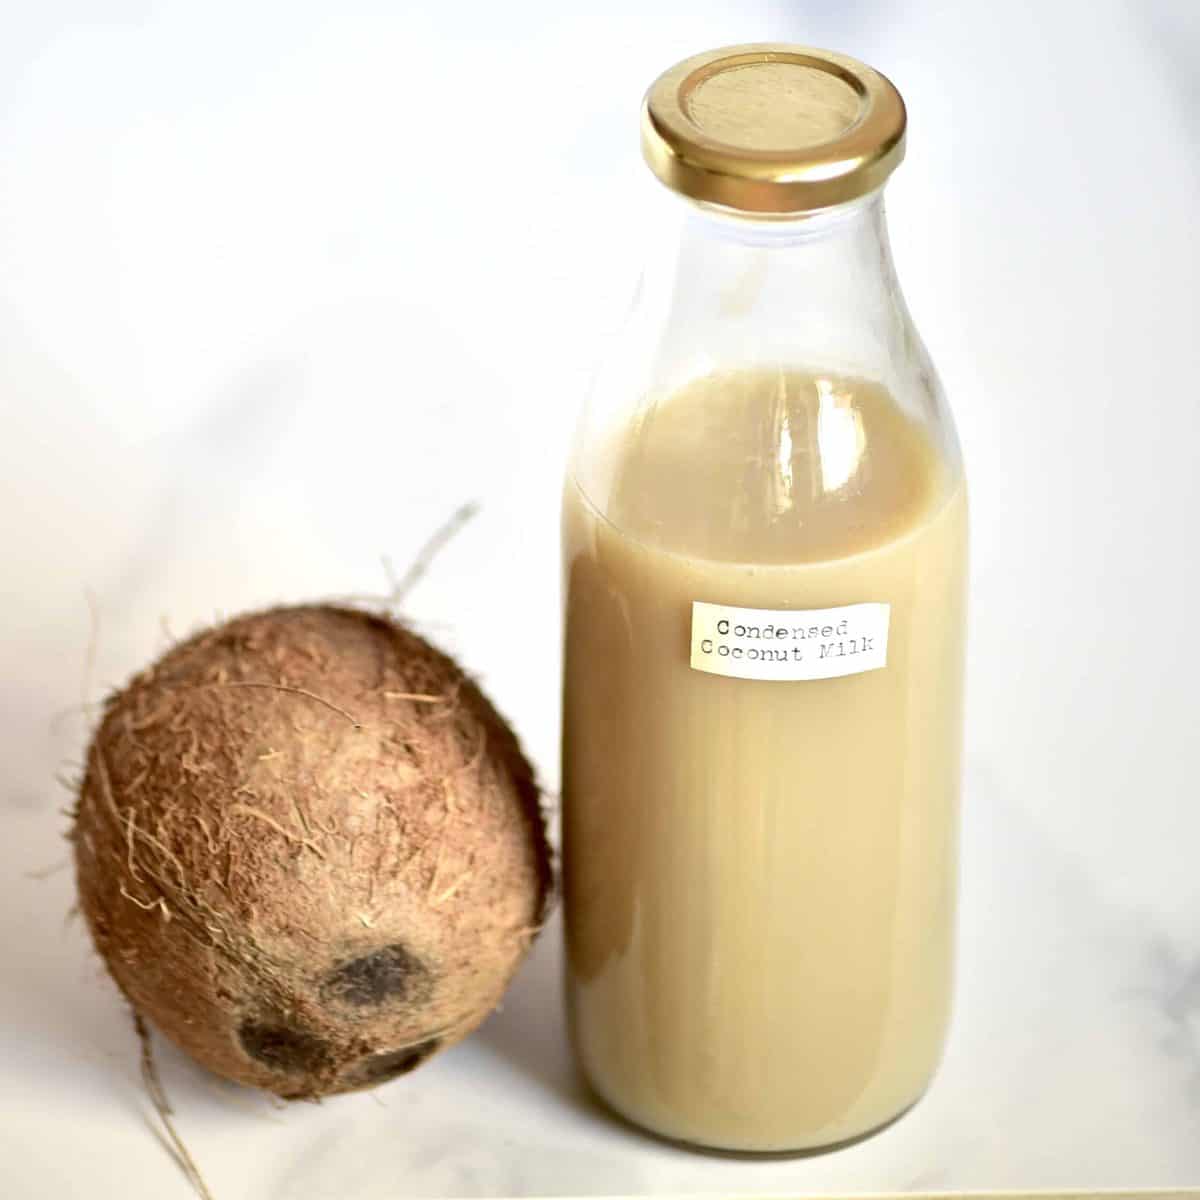
At its heart, vegan coconut condensed milk is a delightful reduction of full-fat coconut milk and a sweetener, cooked down until it transforms into a thick, creamy, and wonderfully sweet syrup. Unlike its dairy counterpart, this plant-based version offers a rich coconut flavor that beautifully complements a wide array of recipes, all while being completely lactose-free and vegan-friendly.
The benefits of crafting your own at home extend far beyond simply having a dairy-free option. When you learn *how to make homemade coconut condensed milk*, you gain:
- Ingredient Control: You dictate what goes into your condensed milk. No mystery additives, no preservatives – just pure, wholesome goodness. This is especially important for those mindful of their diet or dealing with allergies.
- Superior Flavor & Texture: Homemade versions often boast a fresher, more vibrant coconut taste and a perfectly smooth, luscious texture that can surpass many store-bought alternatives.
- Cost-Effectiveness: Canned vegan condensed milk can be pricey. Making it from scratch with simple, readily available ingredients is significantly more economical.
- Versatility Unleashed: Once you have this golden elixir, its potential in the kitchen is limitless. Use it to thicken and sweeten coffee or tea, create decadent dessert fillings for pies and tarts, or whip up creamy vegan ice cream. It's also the secret ingredient for crafting delightful edible gifts like vegan caramels, fudge, and even truffles. For more inspiring ways to use your homemade creation, check out our guide on Dairy-Free Sweetness: DIY Coconut Condensed Milk Uses.
The Simple Magic: Ingredients You'll Need
The beauty of this recipe lies in its elegant simplicity. You truly only need two primary ingredients to achieve luscious, thick, and sweet vegan condensed milk.
1. Full-Fat Coconut Milk
This is the foundational element, providing the creamy body and distinctive flavor. The "full-fat" aspect is crucial here, as it contains the necessary fats to thicken and emulsify properly during the reduction process.
- Canned Full-Fat Coconut Milk: This is the most convenient option for most home cooks. When selecting a can, prioritize quality. Look for brands that list "coconut extract" and "water" as the primary (and ideally, only) ingredients. Avoid cans with unnecessary additives, stabilizers (like guar gum, while often harmless, can sometimes alter texture), or excessive thickeners if you want the purest result.
- Homemade Coconut Milk: For the ultimate freshness and control, you can even make your own full-fat coconut milk from scratch by blending fresh coconut flesh with water and straining it. While this adds an extra step, the results are incredibly rich.
Pro Tip: Before opening your can of coconut milk, give it a good shake. If you store cans in the fridge, the cream will separate and solidify at the top, which is fine, but it will need to be thoroughly combined for this recipe.
2. Sweetener of Choice
This provides the sweetness and aids in the caramelization and thickening process. We recommend two excellent options:
- Organic Cane Sugar: This is a fantastic choice for a classic condensed milk flavor that is subtly sweet without overpowering the coconut. Organic cane sugar is made by evaporating and crystallizing cane juice, retaining some of its natural molasses and minerals. While there's a debate about whether it's truly "unrefined," it is significantly less processed than conventional white sugar. Opting for organic is important, as conventional sugarcane farming often involves pesticides that are harmful to both the environment and human health. It delivers a clean, sweet taste and helps achieve that slightly darker, caramelized hue as the milk reduces.
- Maple Syrup: If you prefer a natural liquid sweetener and enjoy the distinctive flavor notes of maple, this is a wonderful alternative. Be aware that using maple syrup might result in a slightly different final color and a more pronounced flavor profile, which can be delightful in certain applications (think autumnal desserts!). You might also find the reduction time varies slightly.
Step-by-Step Guide: How to Make Homemade Coconut Condensed Milk
You'll be amazed at just *how to make homemade coconut condensed milk* requires so little effort for such an impressive outcome.
Equipment You'll Need:
- A heavy-bottomed saucepan (to prevent scorching)
- A whisk or heat-proof spatula
- An airtight jar for storage
Instructions:
- Combine Ingredients: Pour the full-fat coconut milk into your heavy-bottomed saucepan. Add your chosen sweetener – organic cane sugar or maple syrup. If using cane sugar, give it a quick whisk to help it begin dissolving.
- Bring to a Boil: Place the saucepan over medium heat. Bring the mixture to a gentle boil, stirring occasionally with your whisk or spatula. It's important to stir to ensure the sugar fully dissolves and prevents it from sticking to the bottom of the pan.
- Simmer and Reduce: Once boiling, immediately reduce the heat to low-medium, maintaining a steady, gentle simmer. This is the crucial stage where the magic happens. Continue to simmer, uncovered, for approximately 30-45 minutes.
- Monitor and Stir: During simmering, the mixture will gradually reduce in volume (by about half), thicken, and its color will deepen slightly due to caramelization. Stir periodically, especially towards the end of the cooking time, to prevent the milk from sticking to the bottom of the pan and ensure even reduction. The mixture should become syrupy and coat the back of a spoon. Remember, it will continue to thicken considerably as it cools.
- Cool and Store: Once the desired consistency is reached (thick, syrupy, and reduced by about 50%), remove the pan from the heat. Allow the homemade coconut condensed milk to cool completely at room temperature before transferring it to a clean, airtight jar. As it cools, it will continue to thicken to a rich, spoonable consistency.
Troubleshooting Tip: If your condensed milk seems too thin after cooling, don't worry! You can gently reheat it over low heat and simmer for a few more minutes until it reaches your desired thickness. If it's too thick, you can whisk in a tiny amount of hot water or plain coconut milk until the consistency is just right.
Storage and Shelf Life
Proper storage ensures your homemade creation remains fresh and delicious. Once cooled, transfer your vegan coconut condensed milk to a sterile, airtight jar. Store it in the refrigerator, where it will last beautifully for 1 to 2 weeks. Its thick consistency makes it easy to portion out for all your culinary needs. For longer storage, you can freeze it in small, freezer-safe containers or ice cube trays for up to 2-3 months. Just be aware that the texture might be slightly less smooth upon thawing, though it will still be perfectly functional for most recipes.
Beyond the Basics: Tips and Creative Uses
Now that you know *how to make homemade coconut condensed milk*, you're ready to unlock a new realm of vegan deliciousness.
- Flavor Enhancements: While simple and delicious on its own, don't hesitate to infuse your condensed milk with additional flavors. A splash of vanilla extract added after cooking, a pinch of sea salt to balance the sweetness, or even a dash of cardamom or cinnamon can elevate its profile for specific recipes.
- Consistency Control: Depending on the recipe, you might want a slightly thinner or thicker consistency. If making a drizzle for coffee, a slightly thinner reduction is perfect. For vegan caramels or fudge, aim for a thicker, more viscous syrup. Adjust simmering time accordingly.
- Mastering the Art: Practice makes perfect! Don't be afraid to experiment with different brands of coconut milk or sweeteners to find your ideal combination. This 2-ingredient recipe is incredibly forgiving and open to personalization. For more tips on perfecting this essential vegan staple, check out Master 2-Ingredient Vegan Coconut Condensed Milk.
Conclusion
Learning *how to make homemade coconut condensed milk* is a culinary superpower for any vegan or dairy-free enthusiast. This simple, two-ingredient recipe delivers a creamy, sweet, and incredibly versatile alternative that rivals its traditional counterpart. With full control over ingredients and the joy of creating something so essential from scratch, you'll find yourself reaching for this golden, plant-based elixir again and again. So, grab your coconut milk and sugar, and get ready to transform your kitchen into a hub of dairy-free deliciousness!